Working as a Botanical Illustrator Part 2 - starting to draw: large elements
Once the illustrator has the specimens and instructions, it’s time to find out what is going to go into the illustration. It’s best to look at the largest parts first, and determine how to fit them on the page. This may be a flowering or fruiting branch in the case of a large plant such as a tree; a whole plant in the case of a small orchid, or many parts of a larger plant such as a palm. The size of the illustration is determined by the publication for which it is intended. Illustrations are usually printed one-third to one-half smaller than their original size, so find out the size of the scientific journal’s illustrations before you start drawing.
In this case, I am illustrating a palm. For palms, parts in a herbarium specimen may include: a whole leaf (if small), or parts of the leaf (if large); inflorescences and infructescences, flowers (male/female/hermaphroditic); fruits and seeds. Here’s an image of the parts of the specimen spread out on its opened-out herbarium folder.

As the largest object or objects will be the main focus of the illustration, I like to draw them directly onto the final illustration paper first. After that, all of the smaller details will be placed in the spaces that remain. I like to think of these negative spaces as “windows.” You could also do a separate drawing which will later be traced onto the final piece of paper. I use a smooth-surface “bristol board” for my illustrations. Here I have laid out those pieces selected for illustration on top of the bristol board to get and idea of how I am going to place them. Their selection is primarily determined by what I have been asked to portray, but their design and arrangement is up to me. I have drawn up a frame marking the edges of the illustration, which measures 24 x 32cm: one-third larger than a printed Kew Bulletin illustration. You may just be able to make out that pencil line:

Having decided where the first set of leaflets will sit, and a suitable size for them, I set my proportional dividers to the appropriate ratio and start drawing directly from the specimen. Proportional dividers are an amazing tool which allow you to take a measurement and immediately transfer a reduced or enlarged version of it to the paper. Here I have chosen 1/2. From my many years of practice I can do this pretty confidently, but if you are starting out it may take longer. Before I discovered proportional dividers, I measured everything with a ruler and did the calculations in my head!
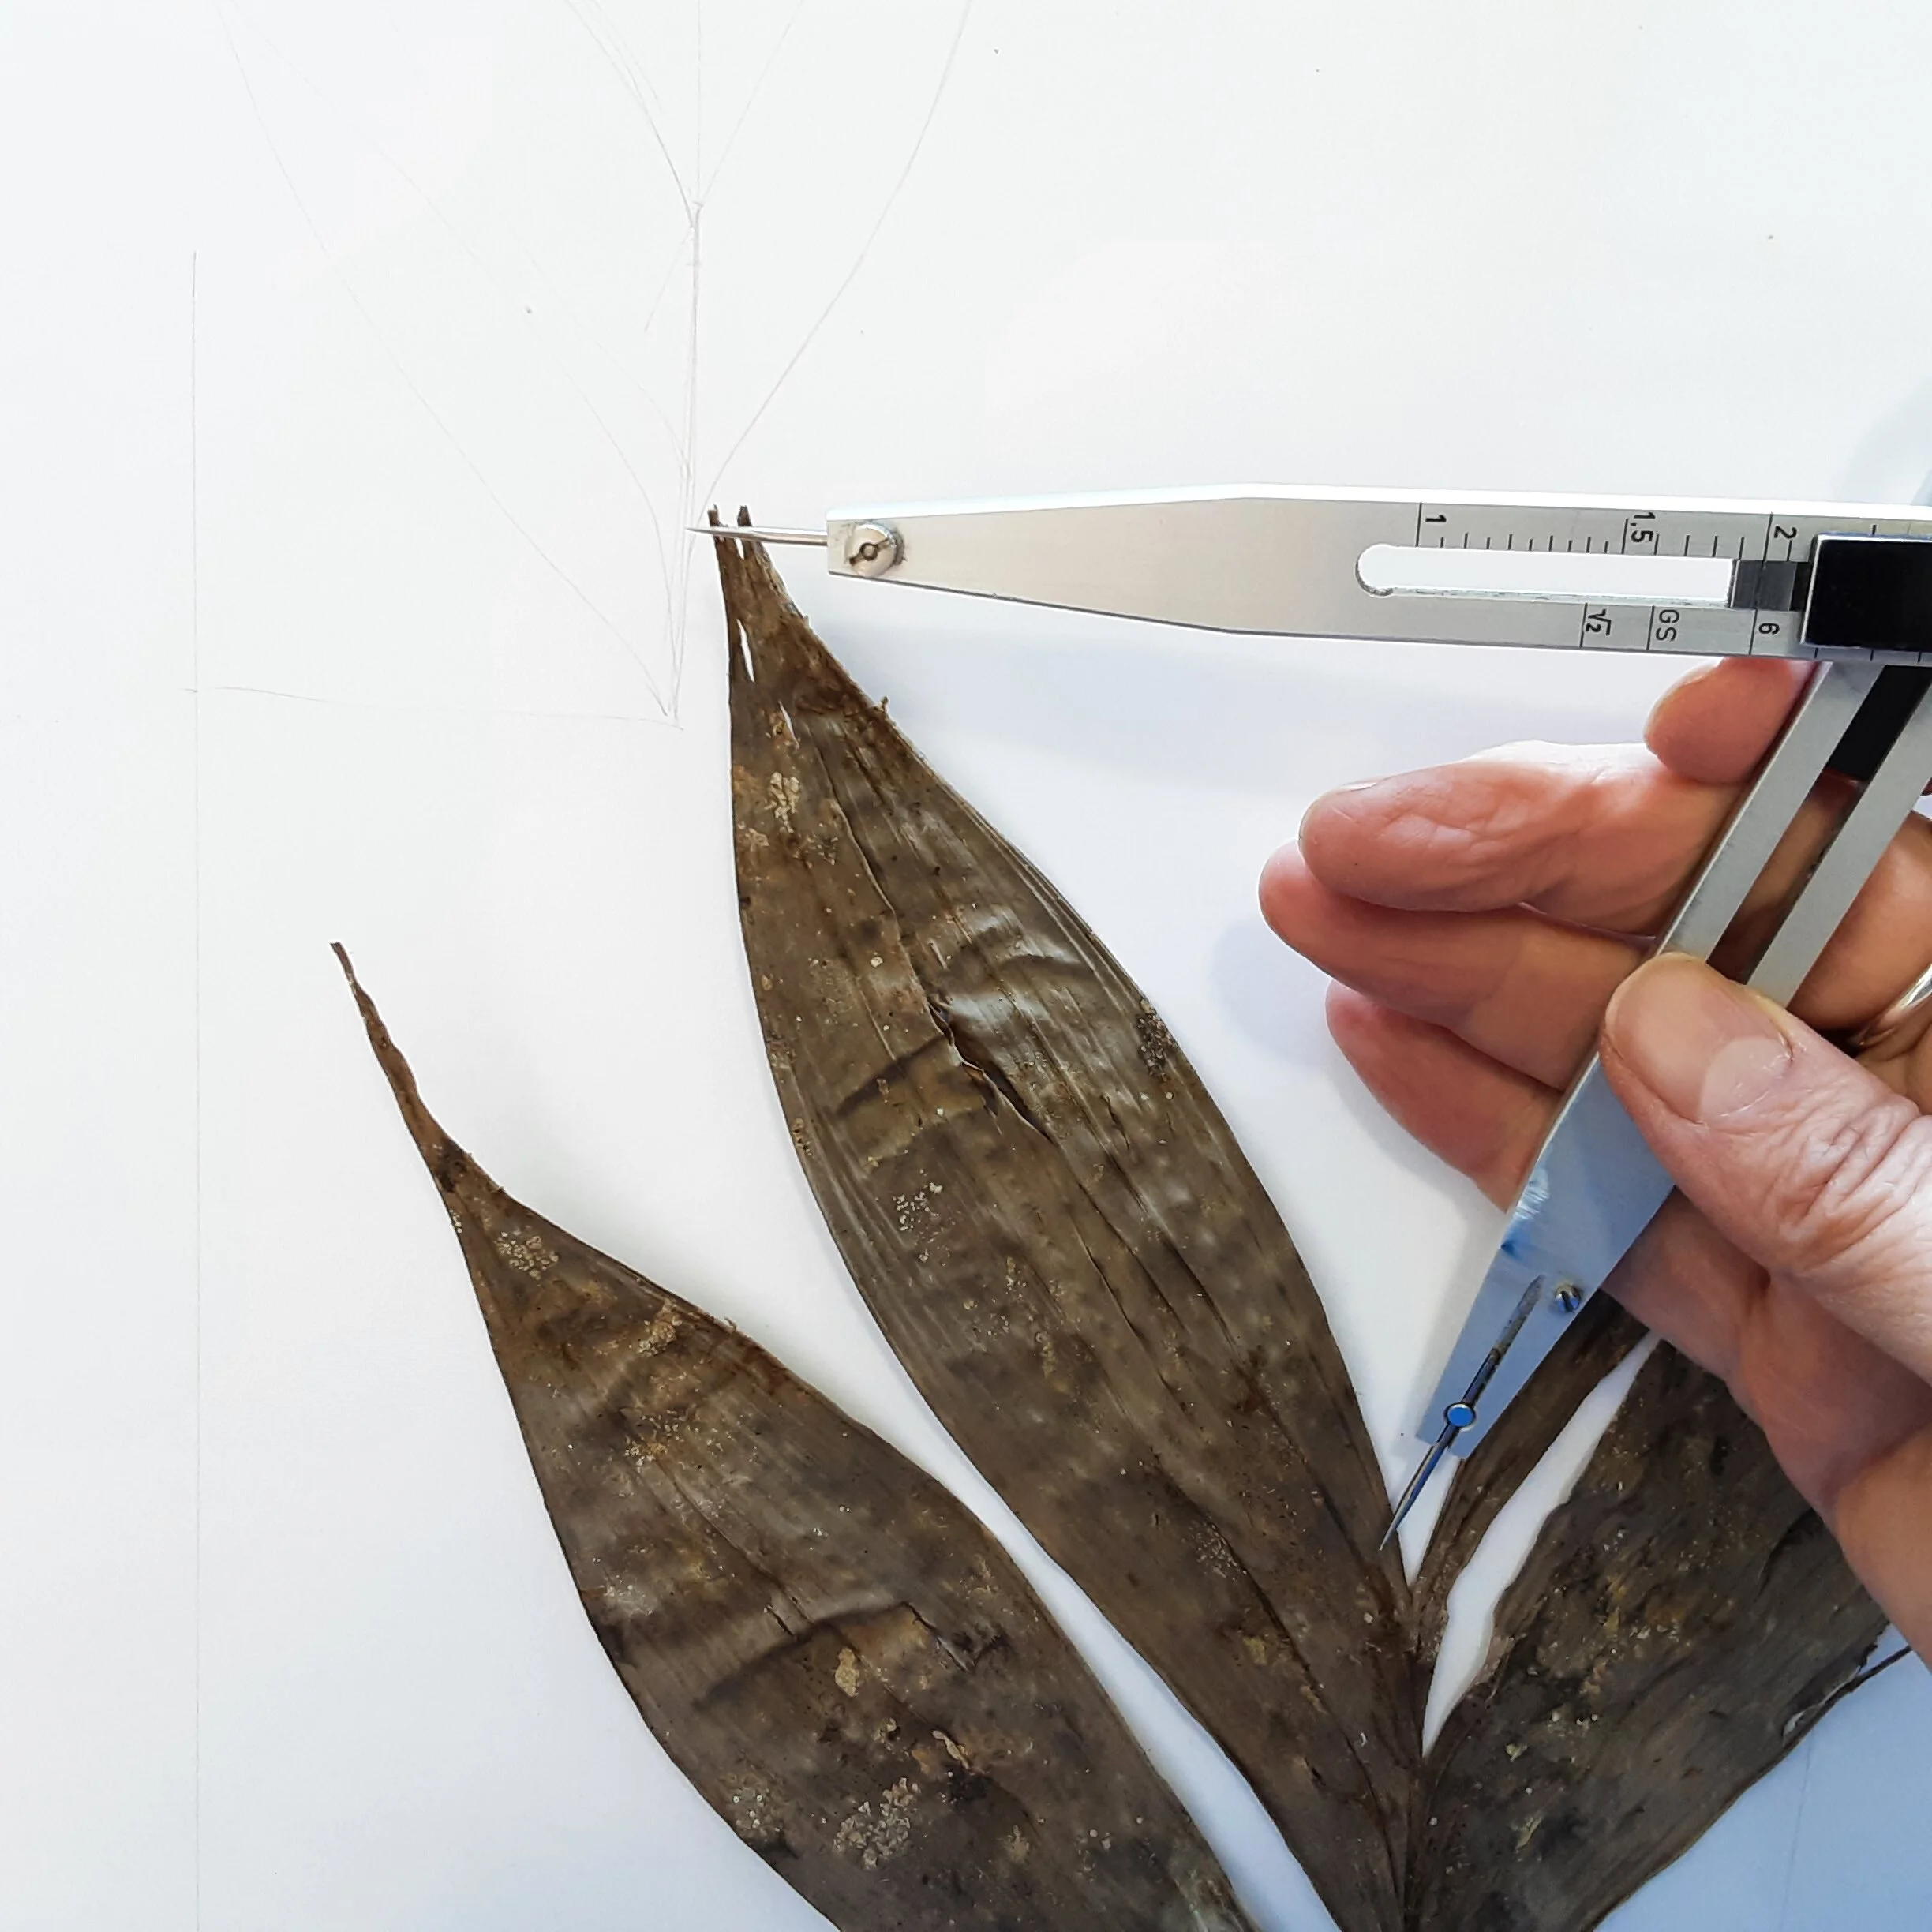
Taking a measurement using proportional dividers set to “2.” This will give a measurement half that over the original, when the dividers are flipped over to their smaller point opening.
As I’m left-handed, I use the dividers with my right hand so that I don’t have to put my pencil down during this process.

Now you can see, an instant one-half reduction of the subject matter, mapped out by the other end of the dividers.
If you are enlarging an object, simply use the dividers the other way.
Proportional dividers, once used by all technical draughtspeople when such drawings were done by hand, are now quite rare and therefore expensive to buy. A less expensive option is to use standard dividers - these will enable you to enlarge but not reduce so easily, as you can measure a part and then mark it out twice, three times, etc.
I repeat this process for the other leaflets, and then the inflorescence and infructescence (the flowering and fruiting structures). While I am drawing, I am considering the design and trying to achieve a balanced and aesthetically pleasing composition. For that reason, I will sketch out the parts lightly at first, adding full details only when I am confident that the composition is working. There is nothing more frustrating and time-consuming than having to move an element after it is fully drawn.

Here’s how the illustration is looking at the moment. It has been darkened a lot after scanning so that it is visible on your screen, whereas in fact it is drawn quite lightly in 2H pencil. A lot of erasing has taken place, and at one point I moved the whole frame to the left to fit something in, rather than re-draw everything.
Now I have started the envisage where the smaller details will fit in. The leaflets still require some refining and addition of details, as do the inflorescence and infructescence, but the illustration is well on its way.
Remember when handling herbarium specimens such as these, to be extremely careful. Look at those long, delicate drip-tips - so easy to damage. Herbarium specimens are precious and irreplaceable.
Next …… drawing the smaller elements and details